I have been using the Glove80 keyboard for a few years now, and it suits me very well.
I have some quibbles about the software1 and hardware. This blog post is about fixing the hardware.
The keyboard has function keys F1 through F10. This design decision — detailed at Why are there no F11 and F12 keys? — was to reduce the height of the keyboard for portability. Personally, I wouldn’t mind an extra 12mm in keyboard height; I would prefer to have the extra keys. I wondered if I could add them.
The Glove80 designers cleverly left an “escape hatch” to facilitate extra buttons and other peripherals. I wondered if I could use that to add F6 and F7 keys.
The keyboard is expensive, so I did not want to drill holes or dremel the case or solder directly onto any PCB. My idea was to use the provided GPIO pin header and sneak thin (30 AWG) wires through the power LED case holes such that I could undo everything cleanly if necessary.
For the software side of the modifications, I used the generic ZMK port so I could follow the “west” tool setup instructions verbatim and build the firmware on my own machine (avoiding the recommended proprietary build pipelines). Once I found the right area of the documentation website the instructions were up-to-date and easy-to-follow. I wrote a ZMK patch I thought should work. Update 2026-09-29: I created another patch, for the official MoErgo ZMK firmware.
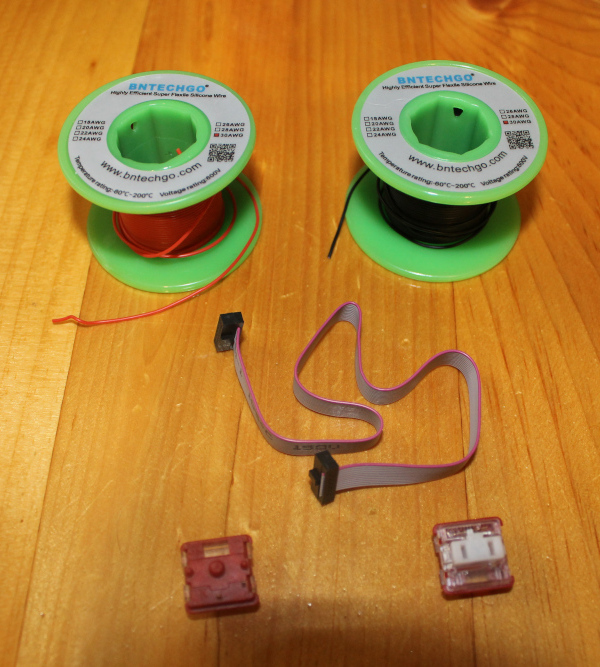
Now that the software was ready to test, I bought some supplies:
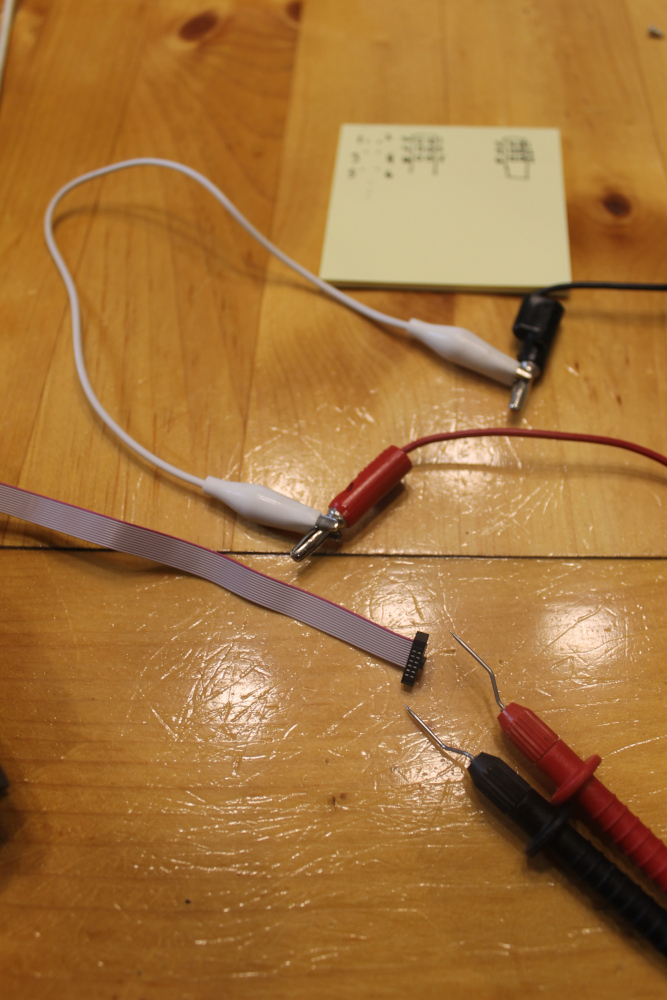
I opened the case, connected the ribbon cable, and performed a test with multimeter probes:
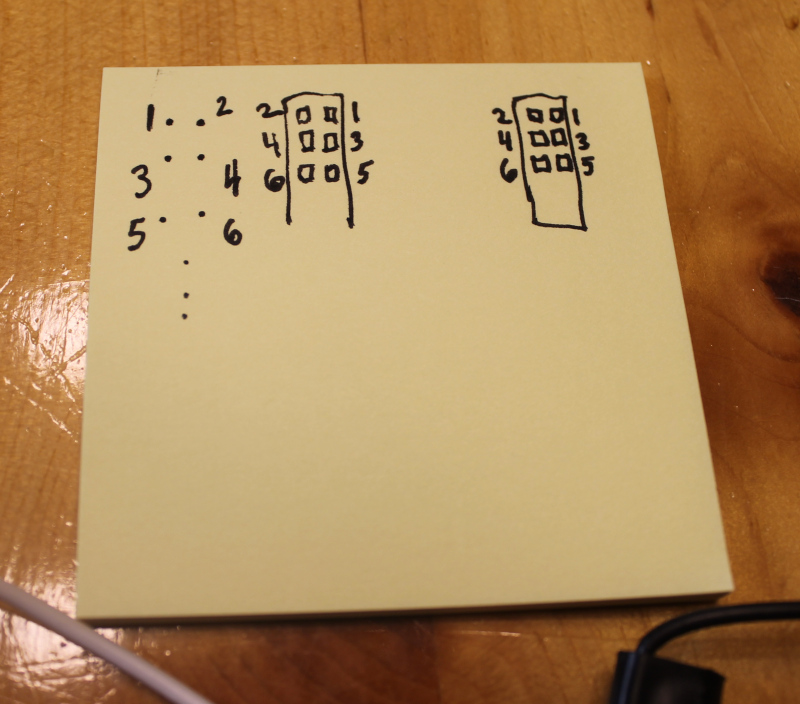
After orienting myself to the pin-numbering scheme,
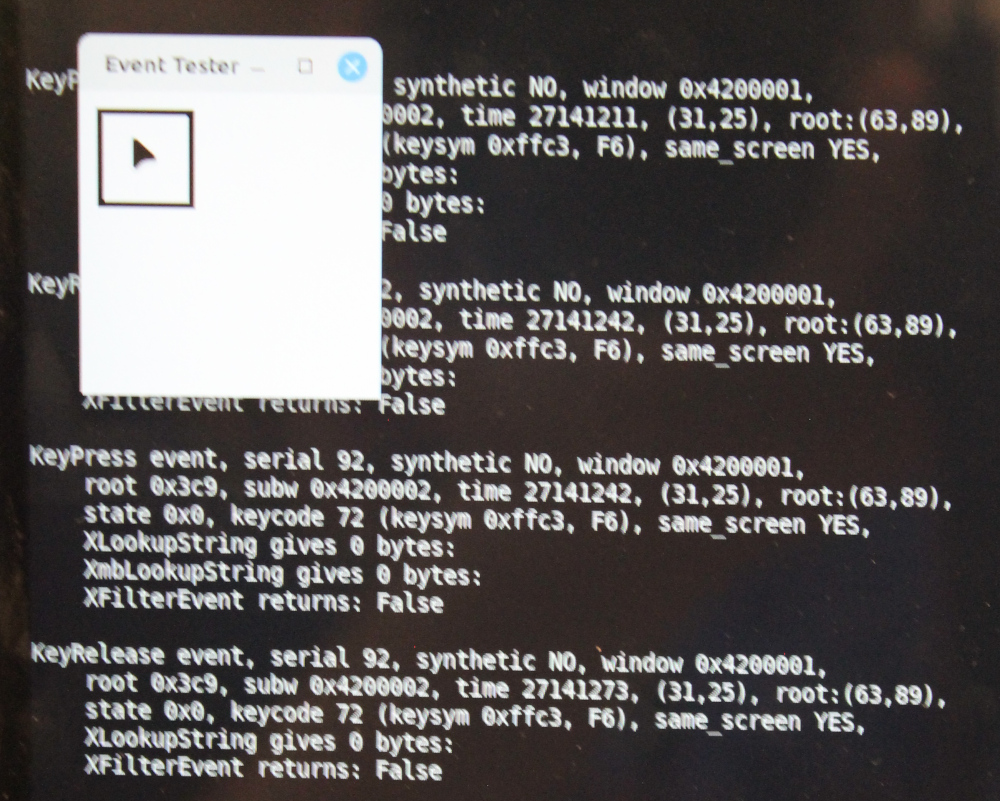
I determined the correct pins and connected them. xev showed the new F6 key registering!:
I started work hacking together a cable (with some soldering help from my son and daughter). Here is the result:
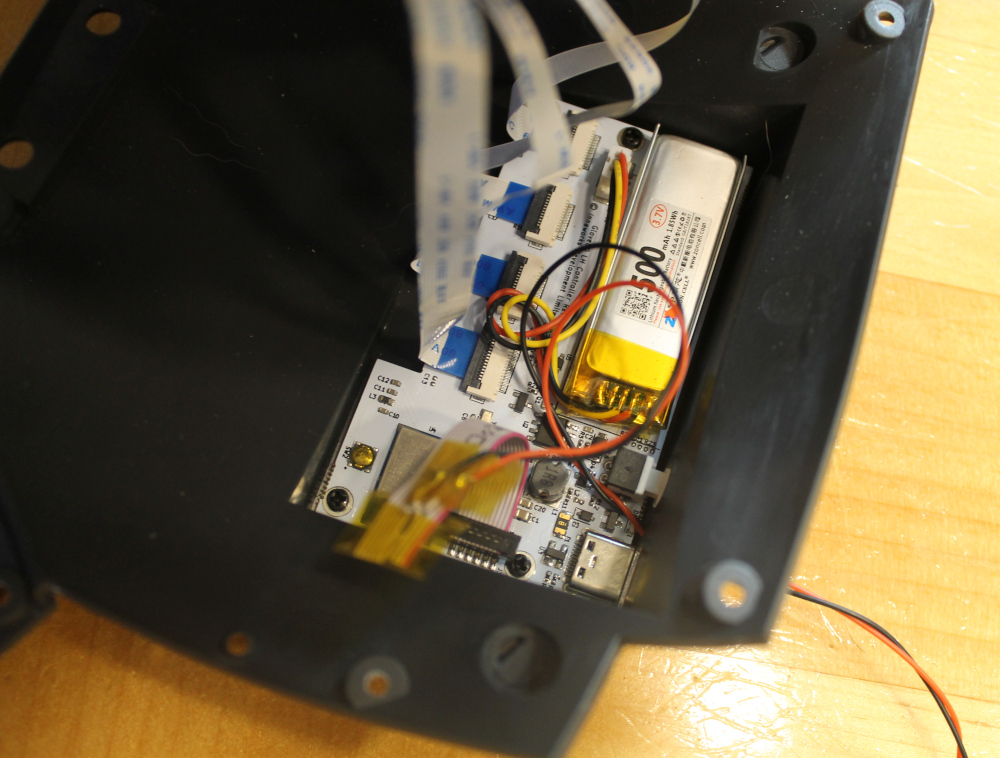
One more test of shorting the exported wires and I felt confident enough to tape the new harness to the inside of the case. Next, I screwed the cover back on, and routed and secured with Kapton tape the extra wire length I left for further mounting experimentation:
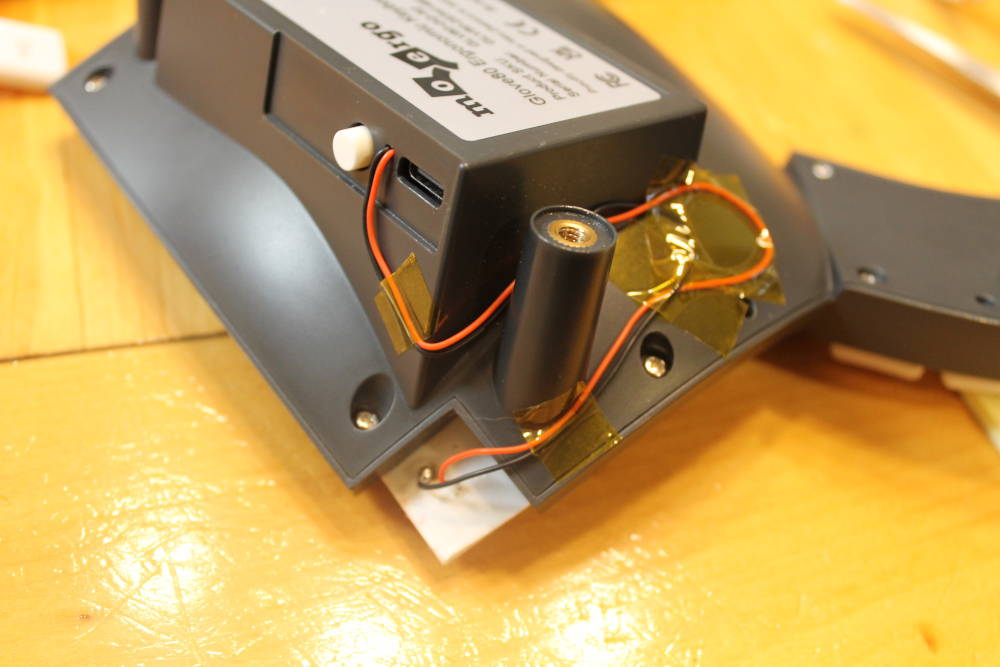
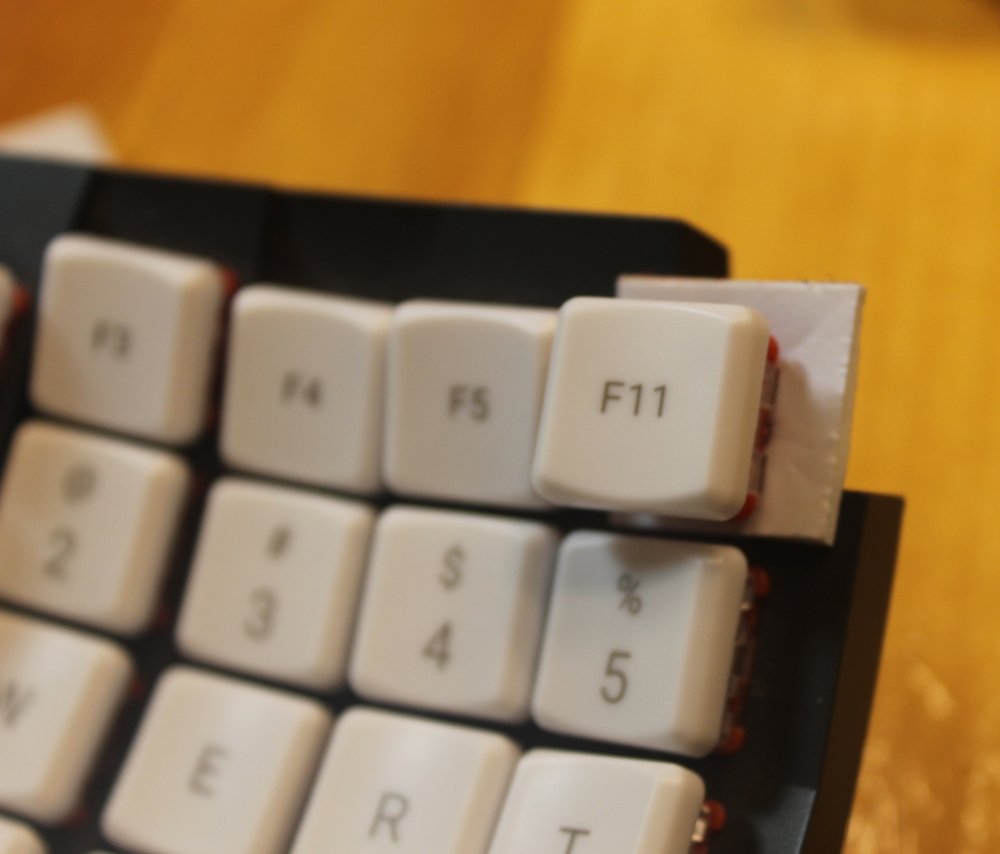
To mount the key to the keyboard, I had been conceptualizing something 3D-printed and clip-on. However for the prototype my daughter suggested double-sided sticky tape (“the foam kind”). It turned out to be strong enough to support the key itself and key presses (I use the lightest 35gf switches):
I did the second half of the keyboard and… Behold, the final prototype:
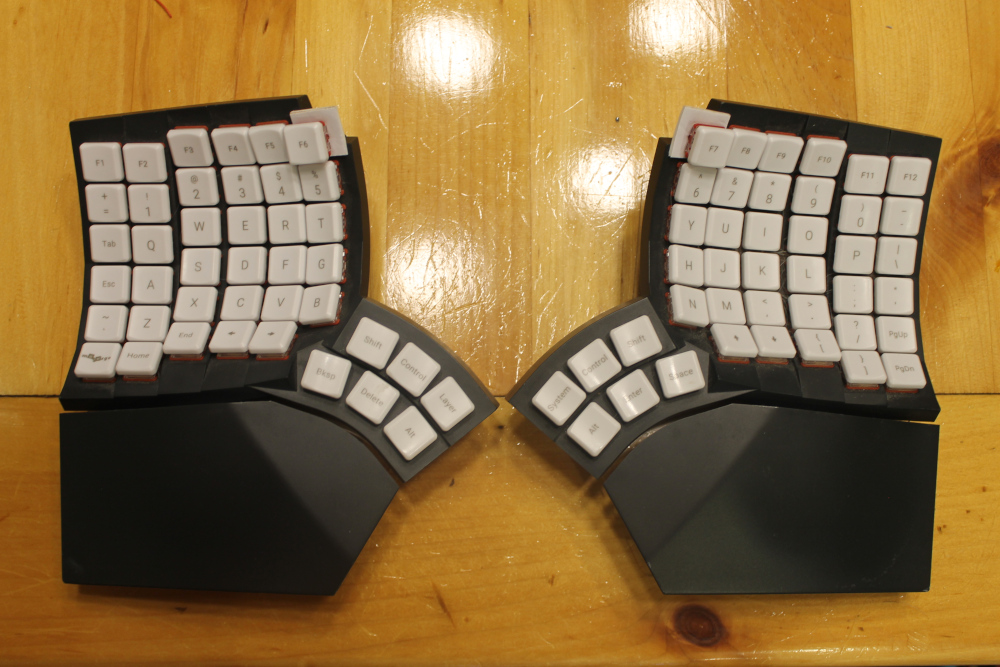
It looks funny because the new keys are raised off the board. It turns out this doesn’t actually bother me or negatively impact usability. The risk of cutting into the case to make the new keys flush would bother me!
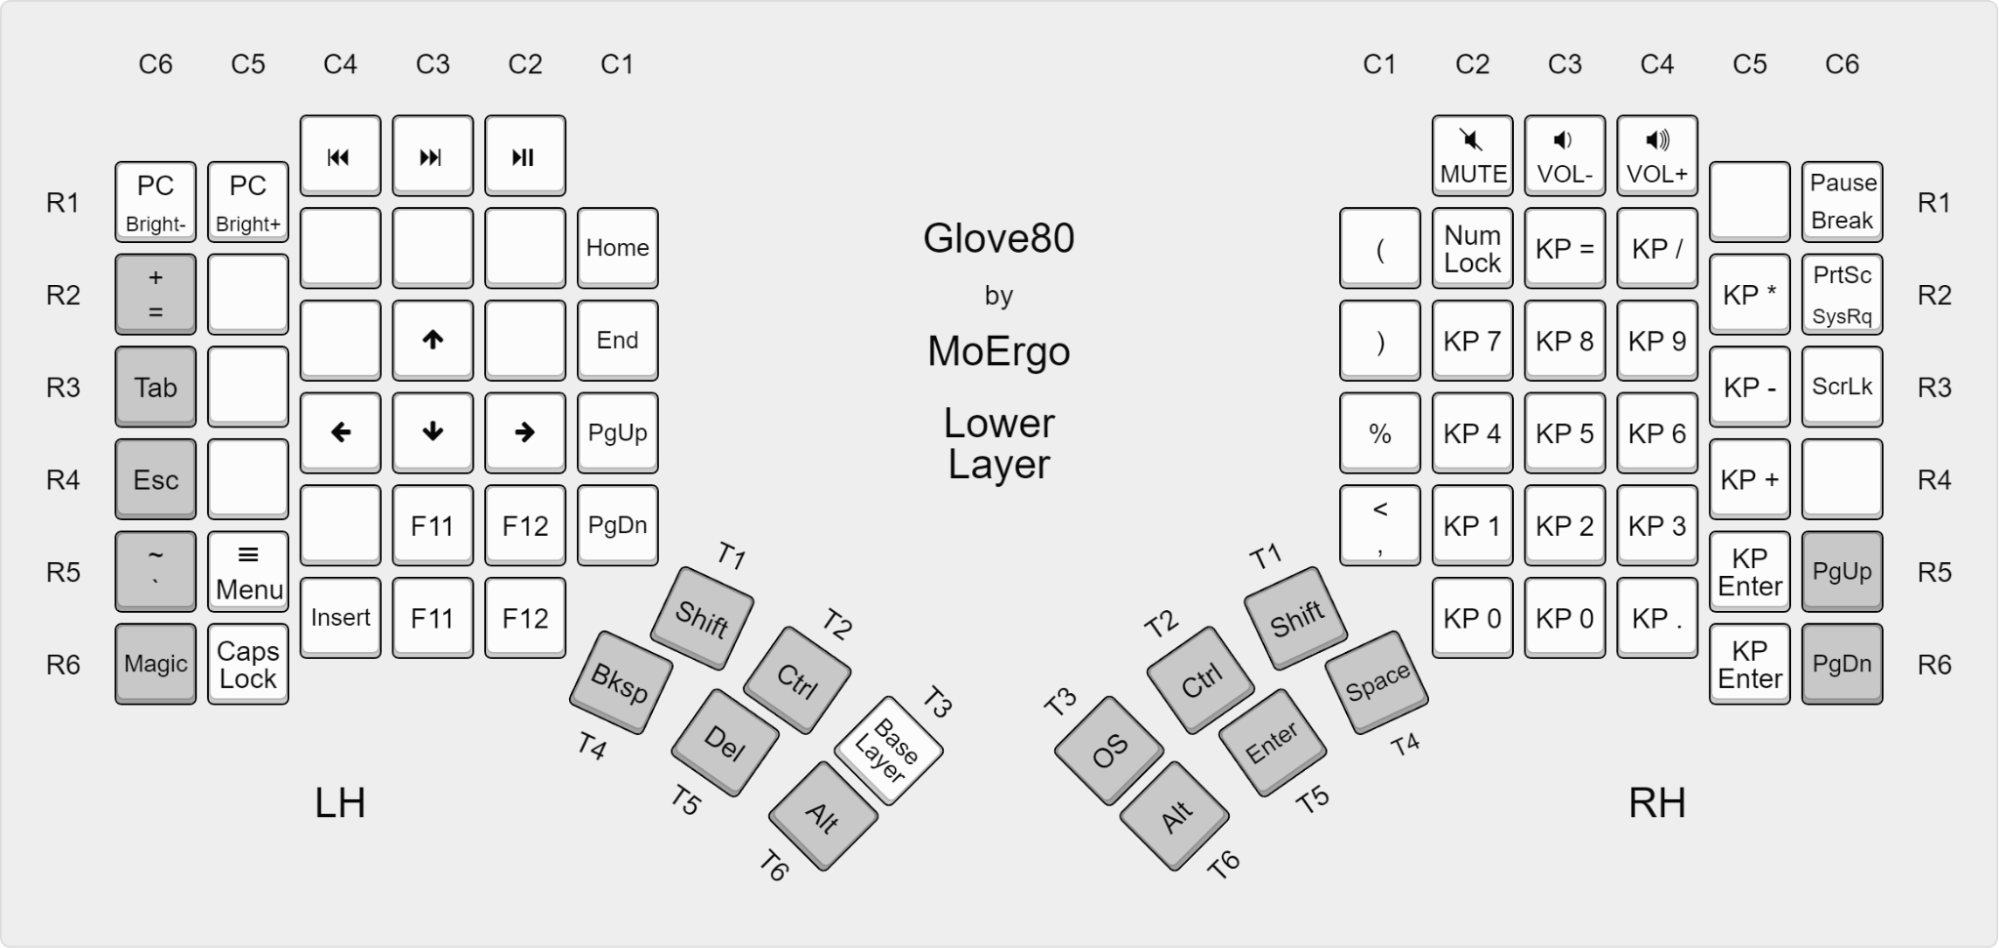
When making a window fullscreen during testing it was immediately satisfying to mash F11 exactly where I expected it, instead of searching the web for the layout of the Glove80 lower layer.
Potential Future Improvements
Maybe I will find the motivation to design a clip-on 3D-printed mount to replace the tape.
At some point I might create a fork of the official MoErgo firmware with my Glove82 patch, to get back the extra features that the vanilla ZMK port is missing (e.g., LED support). Upstream ZMK and the MoErgo branch have diverged though so this isn’t trivial. Update 2026-09-29: Done.
For now though, the keyboard is usable as-is, so I will use it for a while and see how the modifications hold up.
1. I wish some heroes of the Internet would reverse engineer and re-implement the nRF52840 Bluetooth stack under a GPL-compatible license.
Thank you to mtegel, lexano, and my daughter, for reviewing a draft of this post.