I recently built three Lisp Badge computers with some help from my kids. I bought a hot air soldering station and learned TQFP soldering. The kids did some through-hole and SMT soldering and really enjoyed it!
The hardware assembly and debugging process was really fun, other than worrying several times that I had put too much heat into a component, or set the wrong programmable fuse. During that phase I received some advice from the board’s designer, which really helped.
I’ve learned from the hardware people at work to always order extra parts, and I did, including an extra PCB. I was half expecting to damage stuff while learning, so I was really happy that we ended up with all three boards fully working, after locating and fixing some cold solder joints.
It was challenging as DIY projects go, since the Lisp Badge is not available as a kit. But ever since I saw the Technoblogy post about it, I knew I had to attempt building one, and it was worth it. Other than the display, compatible parts were all available from Digi-Key, and I got the PCBs from OSH Park.
The result is a really neat little computer. Here is a picture showing “big text” support that I added:
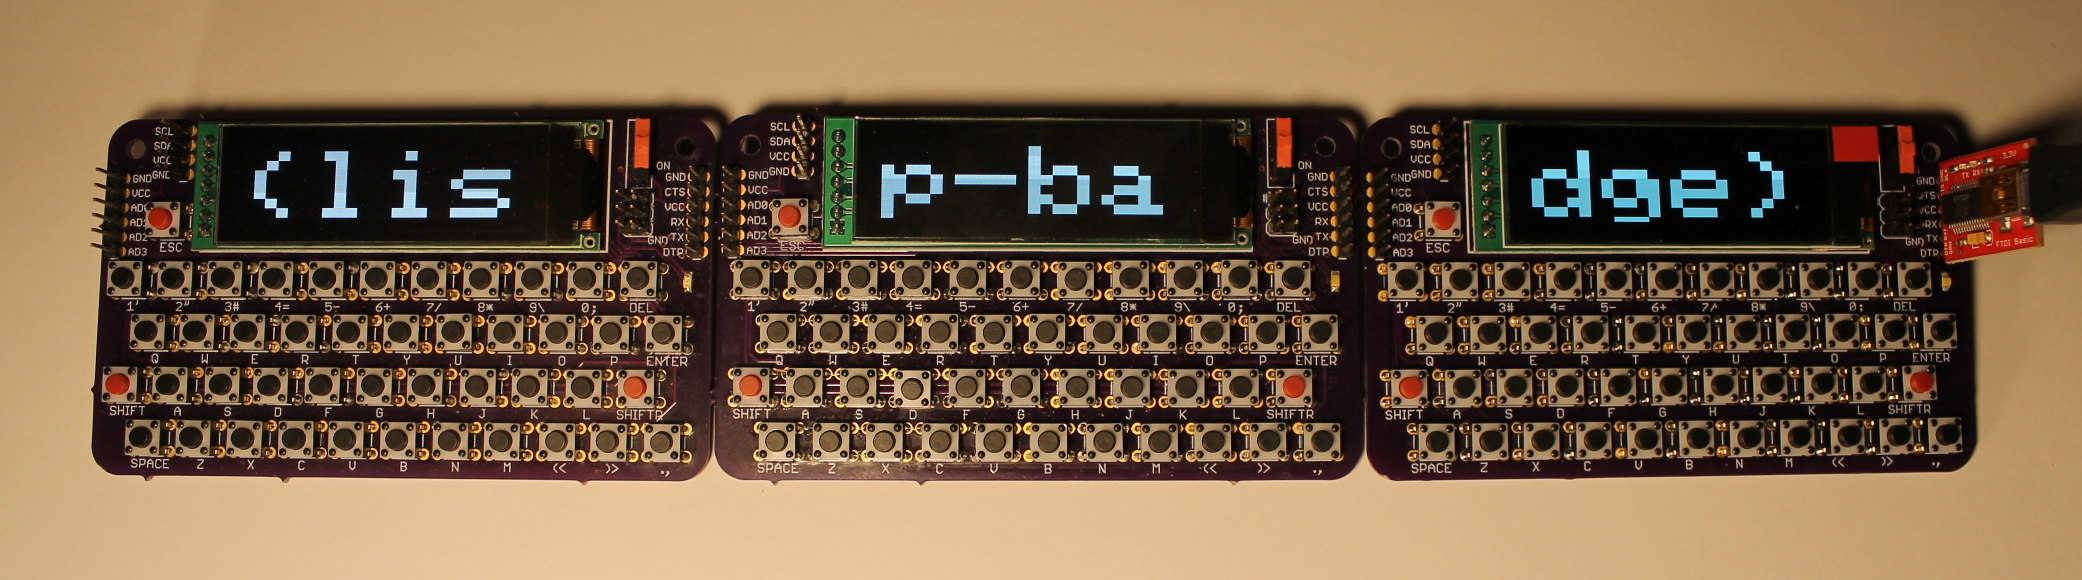
I also added support for building standalone on Debian (Arduino-Makefile), made the audio buzzer work, and wrote an example of how to play a tune on the buzzer. I published the changes to my sourcehut.
It’s fun to try writing small programs on the badge itself, within the constraints of its minimal uLisp REPL.